Easy Ways to Repair a Cracked Birdbath – How to Fix Bird Bath?
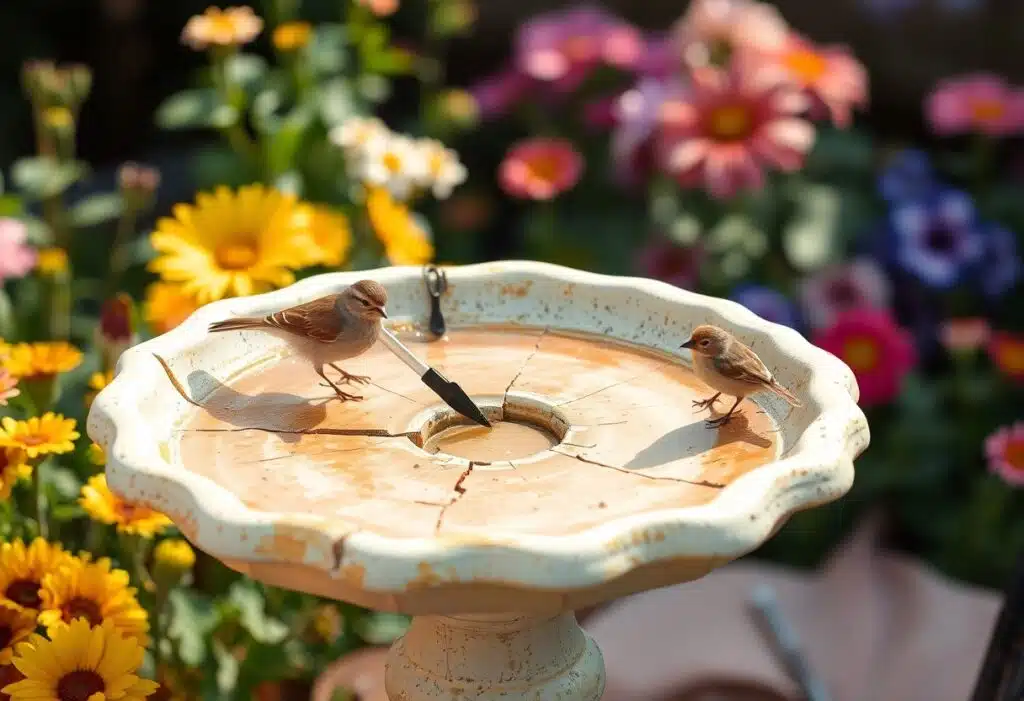
You can easily fix your cracked birdbath and help our feathered friends enjoy their spa! If you notice breaks or leaks in your concrete birdbath, it’s important to act fast to prevent more damage. A little care can turn your cracked bowl back into a safe and attractive water source. In this guide, you’ll find quick tips and the right products to use. Let’s get started and make your birdbath the highlight of your garden!
repair your cracked birdbath
Key Takeaways:
- Clean and Prepare: Always use a scrub brush to clean the concrete birdbath. Get rid of any dirt or mold first. Moisture can get inside through cracks, so make sure to clean it well before you start.
- Easy Repair Products: Using a 2-part epoxy or silicone caulk can help fill in cracks quickly. These products bond well and can make your birdbath waterproof again.
- Let It Cure: After applying your chosen repair product, give it a couple of days to dry and cure. This ensures it holds and prevents future leaks during those freeze-thaw cycles of the cold months.
Making a good birdbath is not just for looks; it’s an important project for keeping your wildlife healthy and happy!
Using these steps, you can easily fix cracks in your birdbath and keep your feathered friends visiting for years to come! Don’t miss out on the joy of hearing birds splashing in your garden.
Types of Birdbaths
A birdbath can be made in different styles to attract a variety of birds. Here are some standard types:
- Concrete – Durable and can last for years.
- Plastic – Lightweight and easy to move.
- Metal – Often decorative but may rust over time.
- Stone – Organic look that blends into nature.
- Hanging – Space-saving and unique design.
Thou can choose based on your garden’s style and the type of birds you want to attract.
| Material | Pros & Cons |
|---|---|
| Concrete | Durable, but may crack. |
| Plastic | Lightweight but can fade. |
| Metal | Decorative, but may rust. |
| Stone | Natural look, but heavy. |
| Hanging | Unique, but requires stable support. |
Material Composition
One common composition for a birdbath includes concrete or cement. Both materials are strong and waterproof, making them ideal for outdoor use. When choosing, consider how the material will hold up over the years, especially during the freeze-thaw cycle of cold months.
Design Variations
Little attention is often given to the various design options available for birdbaths. You can find simple bowl shapes, elegant pedestal designs, or even multi-tiered setups for additional aesthetic appeal.
For instance, if you opt for a tiered design, you can create a fascinating focal point in your garden while attracting a variety of wildlife. The upper levels can be shallow for small birds, while the lower levels can provide drinking water for larger animals. Additionally, choose materials that are safe for your feathered friends—make sure to test for any toxins. It’s also important to clean your birdbath regularly to avoid any smell or dirt build-up.

Factors to Consider When Repairing
Some key factors dictate how you should repair your birdbath effectively. Before starting your concrete repair project, consider the following components:
- Severity of cracks present
- Climate conditions in your area
- Material type: concrete or plastic
- Water source and flow to prevent leaks
Recognizing these factors can help you choose the right methods and materials for a successful fix.
Severity of Cracks
If you encounter minor cracks, you might only need a simple seal and clean before adding a waterproof product. However, larger cracks may require a more involved approach with a thicker bonding agent to ensure stability.
Climate and Environmental Impact
When repairing your birdbath, consider how your local climate affects the materials you use. Warmer temperatures can speed up drying, so you might want to add a bonding agent to extend working time. Protect your birdbath from harsh winter weather as moisture can seep into the pores and cause damage when it freezes. Regular maintenance can help prevent these issues.
Cracks in your birdbath can lead to other issues, especially when it comes to water retention. If water leaks out, your birds will miss out on a much-needed bath. Additionally, during the freeze-thaw cycle, water can expand and create more cracks if not properly fixed. Damage from winter conditions can turn a simple repair into an ongoing battle. Ensuring your birdbath is well-prepared will help save both your repair efforts and the wildlife that relies on it.
Tools and Materials Needed
Not every repair is complicated! With the right tools and materials, it’s easy to fix your broken concrete birdbath and make it water-safe again. Make sure you gather everything mentioned here to ensure a smooth repair process.
Essential Repair Tools
Some simple tools can make your repair project effective and less stressful. Get yourself a scrub brush, mixing utensils, a spray bottle, and a spatula. These handy items help you clean, mix, and apply the repair materials correctly.
Recommended Repair Materials
Repair your birdbath with the right materials for lasting results. You will need a quick-setting cement mix, like Rapidset Cementall, to fill cracks and surface holes effectively. To seal potential leaks, consider using silicone caulk, making sure it’s safe for animals.
Understanding the products you use can save you time and effort. The Rapidset Cementall is not just a typical mix; it’s very dense and can cure quickly, making it ideal for outdoor projects. While applying, remember to moisten the existing concrete first to create a good bond. This cement mix allows you to patch cracks or holes with ease, ensuring your birdbath can withstand the freeze-thaw cycle in winter. Don’t skip out on cleaning dirt and grime before you start; this will help prevent issues down the line.
Step-by-Step Repair Process
To repair your cracked birdbath, follow these simple steps to ensure a solid fix. Here’s a breakdown of the process:
| Step | Description |
| 1. Cleaning | Scrub the surface thoroughly to remove dirt and debris. |
| 2. Applying Repair Material | Fill cracks with concrete mix or epoxy. |
| 3. Finishing Touches | Ensure a smooth surface and apply a sealer if desired. |
Cleaning the Birdbath
There’s no need to skip this step! Start by scrubbing your birdbath with a stiff brush to get rid of dirt and any loose pieces. Make it shiny and clean so the repair material can bond properly. A clean surface will help your repair last longer, so take your time!
Applying Repair Material
Now it’s time to fill those cracks! You can use a quick-setting product like hydraulic cement or even two-part epoxy for smaller breaks. It works best to apply the mixture thickly, ensuring it gets deep into the cracks.
This part of your project is important. When applying the repair material, aim for a spreadable consistency, similar to peanut butter. Work quickly—don’t mix more than you can apply in about 5 minutes to ensure it holds well. It’s a good idea to dampen the surface before applying the cement to enhance the bond, allowing your birdbath to be strong and waterproof.
Finishing Touches
For the final step, smooth the surface of your repair. You want a nice finish to the bowl that won’t hold dirt. If you wish, applying a safe sealer can help protect against leaking.
Birdbath repairs can be quick but effective. After all, you want your fixture to last through the freeze-thaw cycle. A neat and clean finish ensures that water stays where it belongs, allowing wildlife to enjoy their time in your garden. Plus, keeping it clean will help in lessening any unpleasant smell for you and your feathered friends!
Tips for Successful Repairs
For a smooth and effective repair of your birdbath, consider these helpful tips:
- Use a strong two-part epoxy for any serious cracks.
- Ensure the concrete is clean and dry before applying a fix.
- Fill any leaks with silicone caulk to prevent water loss.
- Test the water after repairs to ensure it’s safe for birds.
- Consider adding a waterproof sealant once the repair is complete.
Recognizing the importance of these steps will greatly enhance your success.
Best Practices
Repairs should be done promptly to prevent further damage. If you notice a crack or break, assess the area carefully. Using a product like Rapidset Cementall ensures a tight bond and a long-lasting fix. Try to work quickly, as some concrete mixes set in under five minutes. Make sure to apply a thick layer for better durability.
Maintenance Recommendations
If you want your birdbath to last, regular maintenance is key. Best practices include cleaning your birdbath often to rid it of dirt and algae, which can harm wildlife. Inspect the surface routinely for any new cracks, and make sure to empty and refill the bowl with fresh water every few days. During winter, always tip the birdbath on its side to prevent damage from the freeze-thaw cycle. Also, use a soft scrub brush to clean, ensuring the surface remains safe and bird-friendly.
Pros and Cons of Repairing vs. Replacing
Despite the tempting idea to simply replace the entire birdbath, it’s imperative to weigh the pros and cons of repairing versus replacing. Understanding the benefits and drawbacks can help you make the best choice for your garden. You can repair a cracked birdbath easily with the right product, but consider the long-term implications before making a decision.
| Pros | Cons |
|---|---|
| Cost-effective option | May require ongoing maintenance |
| Easy and quick fix | Repairs might not last forever |
| Retain nature and aesthetics | May take time to cure properly |
| Environmentally friendly | Can struggle with severe weather damage |
| Fill in cracks and leaks efficiently | Pores can hold water and dirt |
Advantages of Repairing
Now, repairing your birdbath allows you to keep your garden’s wildlife oasis intact. It also saves you money, as a full replacement can be significantly more expensive. With a simple product, you can easily fix the cracks, ensuring your birdbath remains a safe spot for birds to enjoy fresh water.
Disadvantages of Repairing
You might encounter some challenges with repairing your birdbath. The repairs can sometimes be temporary, especially if they are exposed to harsh winter conditions. If you don’t ensure a strong bond, the sealed areas may eventually leak again, leading to water loss.
Pros of repairing your birdbath also include the time and effort spent. You need to allow the repaired areas to dry and curing times can vary. If you notice it starting to break down, you may have to redo the project sooner than expected. Ensure you use products that can hold up against the elements and don’t be afraid to test your repairs.
Easy Ways to Repair a Cracked Birdbath – How to Fix Bird Bath?
Considering all points, fixing your cracked concrete birdbath can be a straightforward project. With the right products, like hydraulic cement or silicone caulk, you can easily repair the bowl and ensure no leaks. Start by cleaning the area, filling any cracks, and allowing the repair to dry properly. Regularly monitor your birdbath for issues and keep it clean to enjoy fresh water for your backyard wildlife. With simple maintenance and repair steps, your birdbath can withstand winter’s freeze-thaw cycle and remain a beautiful part of your garden for years.
FAQ
Q: How can I easily repair a crack in my concrete birdbath?
A: You can use a strong product like 2-part epoxy. Make sure to clean the crack thoroughly, then fill it with the epoxy and smooth the surface. Allow it to cure for a couple of days before using the birdbath.
Q: What should I do if my birdbath leaks after a repair?
A: If your birdbath still leaks, try sealing it with silicone caulk. Apply it around the edge and any cracks. This will help hold the water inside the bowl and make it waterproof.
Q: How can I prevent winter damage to my concrete birdbath?
A: During the freeze-thaw cycle, tip your birdbath on its side to avoid water pooling inside. This helps eliminate any freezing that could break it. It’s also good to clean it regularly to remove dirt and algae.

As a bird enthusiast with a passion for sharing the wonders of our feathered friends. As a writer and nature lover, I'm thrilled to connect with fellow bird buffs and inspire others to take flight into the fascinating world of birds. Let's wing it together!